Exploring snowy trails can be a magical experience, but staying warm is key to enjoying the adventure. Proper gear and smart layering make all the difference when temperatures drop. From insulated boots to moisture-wicking fabrics, the right equipment keeps your body protected against the cold.
Many hikers struggle with staying comfortable in freezing conditions. I learned this firsthand after battling Raynaud’s Syndrome during multiple summit attempts. Once I mastered the right clothing system, my outings became enjoyable rather than painful.
Beyond warmth, preparation helps prevent risks like hypothermia. A well-planned layering approach also lets you adjust to changing conditions. Whether it’s windproof gloves or thermal socks, every piece plays a role in safety and comfort.
Don’t let the cold keep you indoors. With the right strategies, snowy landscapes offer breathtaking views and a refreshing escape. Check out this essential gear guide to start your journey.
Table of Contents
Key Takeaways
- Layering systems regulate body temperature and prevent overheating.
- Waterproof and insulated gear helps avoid hypothermia.
- Proper footwear and socks keep feet dry in snow.
- Adjustable clothing allows for comfort in changing conditions.
- Preparation enhances both safety and enjoyment on the trails.
Why Winter Hiking is Worth the Challenge
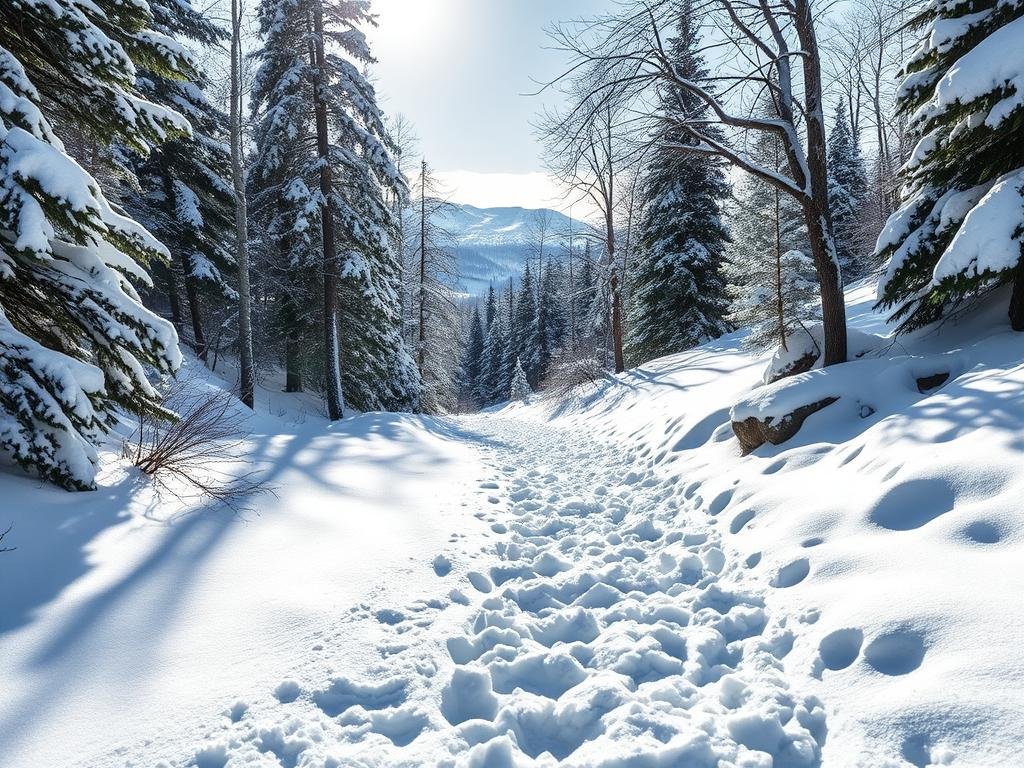
Few experiences match the quiet beauty of a snow-covered trail under crisp winter skies. The crunch of fresh powder underfoot and the magical stillness of frozen forests create a scene straight from a postcard.
Unlike summer’s crowded paths, winter offers solitude. Places like Mt. Shuksan reveal panoramic views without the bustle, while Griffith Woods Park becomes a silent wonderland.
Cold-weather treks build mental grit. After battling near-hypothermia on Mt. Hood’s Sunshine Route, one hiker called the triumph “a lesson in resilience.” Proper gear turns setbacks into victories.
The rewards? Pristine snowscapes, crisp air, and trails transformed by frost. With preparation, even beginners can enjoy Tunnel Mountain’s icy waterfalls or Fish Creek Park’s peaceful loops.
Winter demands respect, but the payoff is unmatched. Fewer crowds mean more space to breathe—and more reasons to brave the cold.
Winter Hiking Essentials: How to Stay Cozy and Safe
Braving cold trails requires smart preparation to stay safe and comfortable. The Ten Essentials—navigation tools, emergency shelter, and first aid supplies—are non-negotiable for winter excursions. A reliable GPS and headlamp with lithium batteries ensure visibility and direction in snowy conditions.
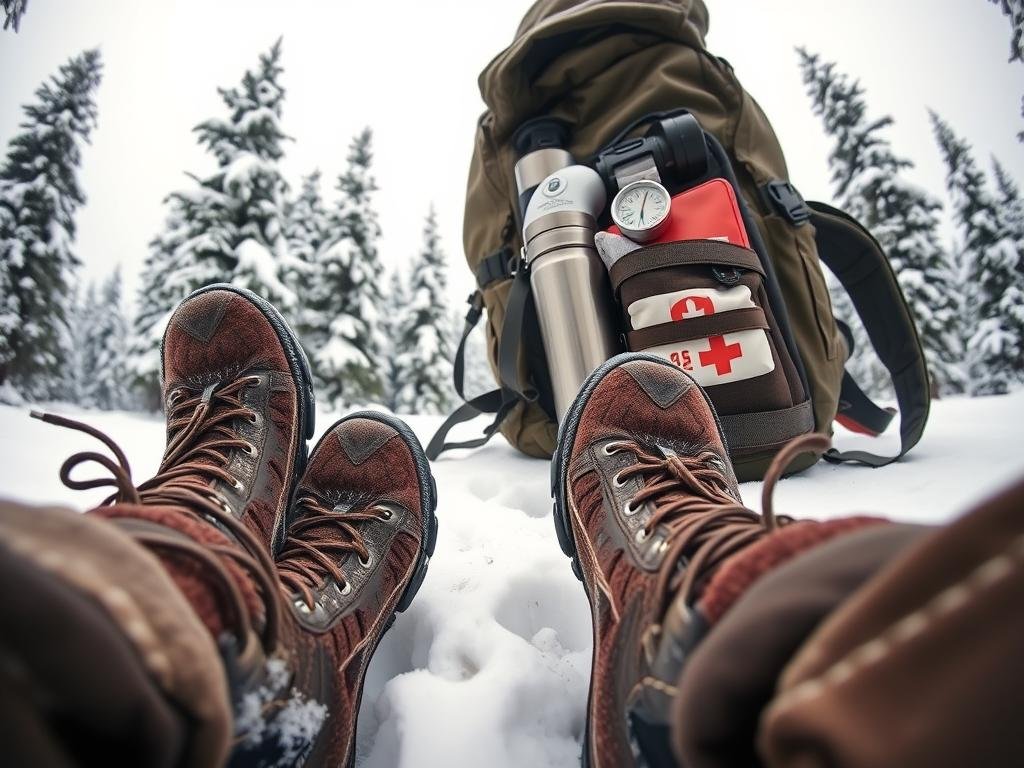
Moisture-wicking base layers made of wool or synthetics keep sweat away from your body, maintaining core warmth. Avoid cotton, which traps moisture and increases hypothermia risks. Pair these with insulated mid-layers and a windproof shell for full protection.
Extremities lose heat fastest. Thermal socks and gloves with waterproof exteriors shield hands and feet from frostbite. Don’t overlook the “11th Essential”—a thermos of hot tea or soup boosts internal temperature during breaks.
| Essential Gear | Purpose |
|---|---|
| Navigation (Map/GPS) | Prevents disorientation in snow |
| Insulated Shelter | Emergency protection from wind |
| Moisture-Wicking Base Layers | Regulates body temperature |
| Thermos with Hot Liquid | Quick warmth and hydration |
Every gear choice connects to safety. A well-packed kit reduces exposure risks, letting you focus on the trail’s beauty. Remember: Cold weather rewards those who plan ahead.
Preparing for Your Winter Hike
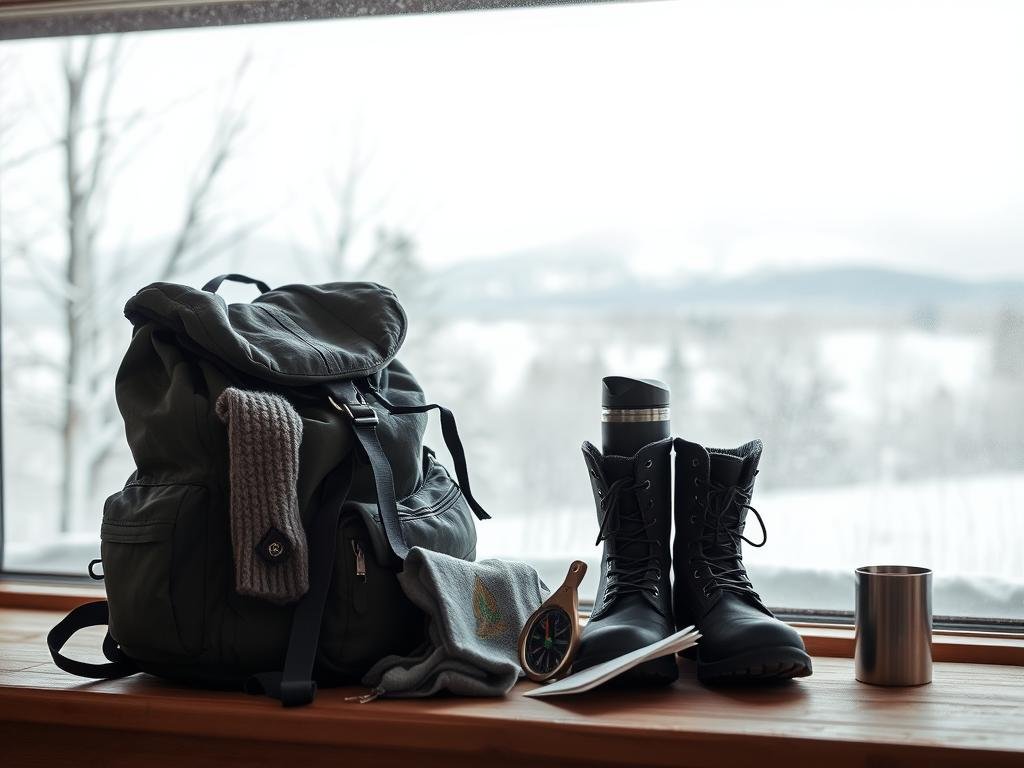
Smart preparation transforms a snowy trek from risky to rewarding. Checking weather and trail conditions ensures safety, while understanding avalanche zones prevents disasters. Tools like NOAA and Mountain Forecast provide real-time updates for precise planning.
Checking Weather and Trail Conditions
Snowpack and windchill can change rapidly, especially at higher elevations. Always cross-reference forecasts from these reliable sources:
| Tool | Best For |
|---|---|
| NOAA | Detailed avalanche forecasts |
| Mountain Forecast | Elevation-specific updates |
| Windy | Wind speed and direction |
Parks like Mt. Hood require flexible itineraries—their trail access shifts with snow accumulation. *Make sure* to verify road closures and daylight hours before departing.
Understanding Avalanche Risks
Inclined trails demand avalanche awareness. Check regional forecasts and avoid slopes steeper than 30 degrees. Thin ice on streams or lakes is another hidden hazard.
Carry a beacon and probe, and practice rescue drills. *Flexibility saves lives*—if conditions worsen, turn back without hesitation.
The Right Gear for Winter Hiking
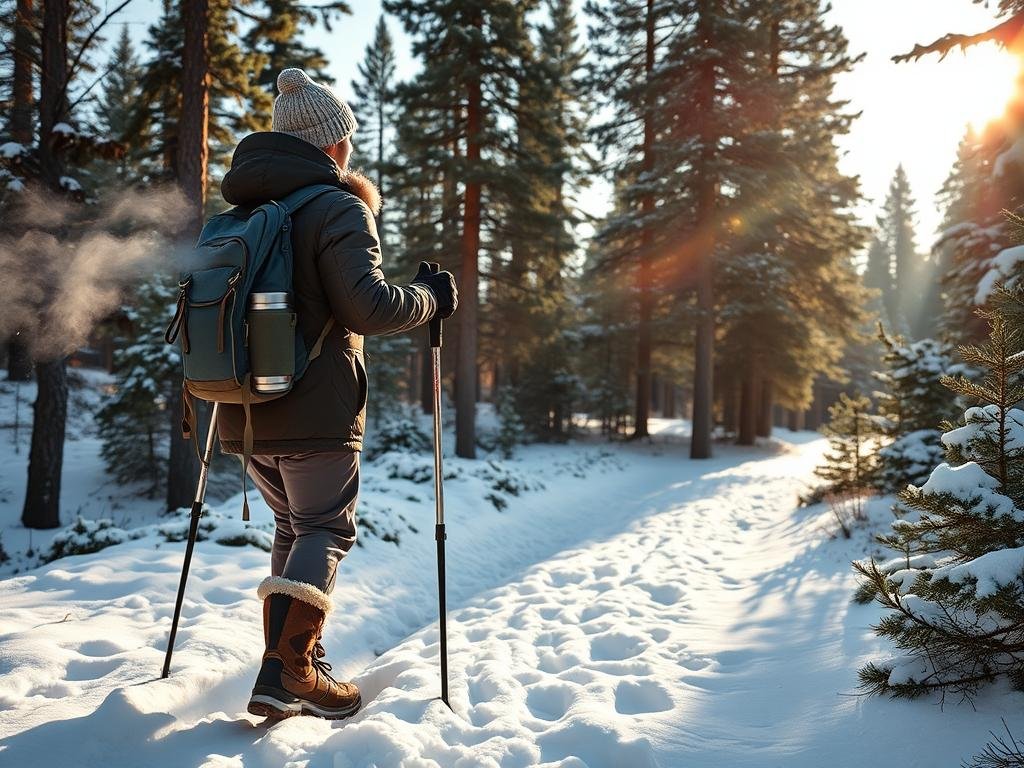
Cold-weather adventures demand gear that balances warmth and mobility. From insulated boots to layered gloves, each piece ensures comfort in freezing conditions. Prioritize waterproof materials and moisture control to avoid icy discomfort.
Footwear and Socks
Waterproof boots like Salomon Outpulse or Columbia Ice Maiden II prevent soggy feet in deep snow. Pair them with merino wool socks (e.g., Darn Tough) over synthetic liners to wick sweat and retain heat.
Gloves and Hand Protection
Layered gloves offer dexterity and warmth. Start with thin liners, add fleece mittens, and top with waterproof shells like Outdoor Research Vigor. Hand warmers boost heat during breaks.
Essential Extras: Gaiters and Neck Coverings
Gaiters (e.g., Kahtoola) keep snow out of boots, while neck gaiters block wind. For icy trails, microspikes provide traction—MSR snowshoes handle powder.
| Gear | Function |
|---|---|
| Insulated Boots | Shield feet from cold and wetness |
| Wool Socks | Regulate temperature and moisture |
| Waterproof Gloves | Protect hands from frostbite |
Pro tip: Test gear on short hikes before long trips to ensure compatibility.
Mastering the Layering System
Effective layering is the foundation of warmth and mobility on cold trails. A well-designed system balances moisture control, insulation, and weather protection. The right clothing prevents overheating and hypothermia, adapting to your activity level and conditions.
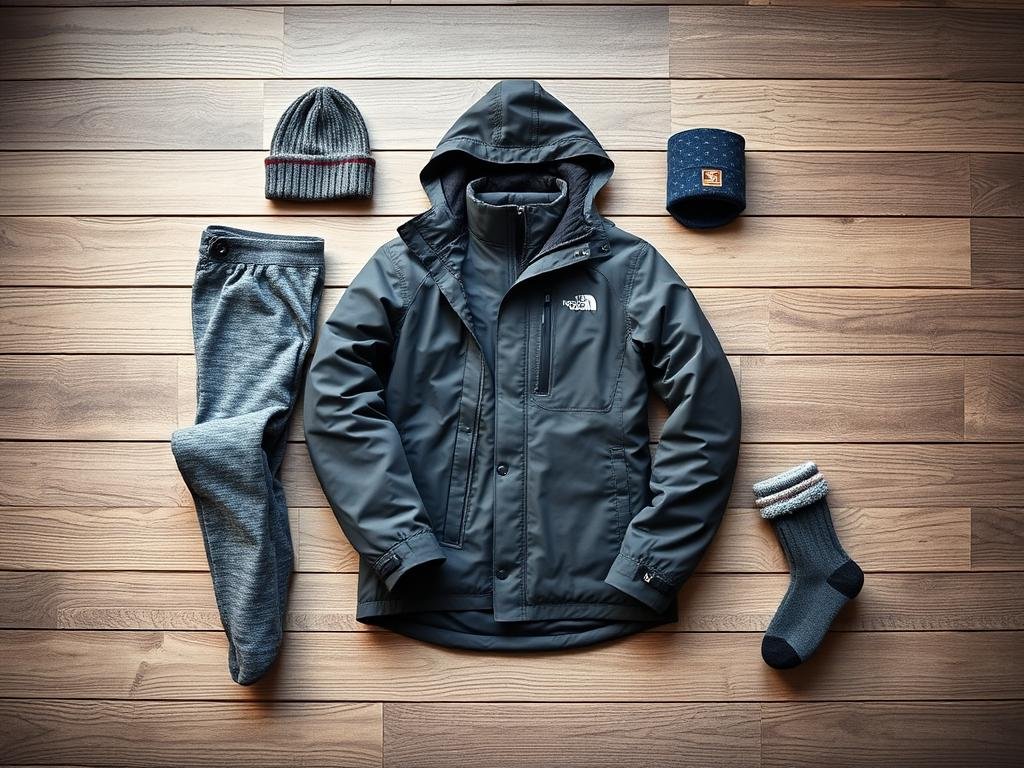
Base Layers: Moisture-Wicking Essentials
Start with a base layer that pulls sweat away from your skin. Merino wool (like Smartwool) or synthetic blends (Icebreaker) excel here—avoid cotton, which traps moisture and increases chill. These materials dry quickly and reduce odor during multi-day trips.
Mid-Layers: Insulation for Warmth
Mid-layers trap heat without bulk. Fleece jackets or down vests (Arc’teryx) offer lightweight warmth, while synthetic puffies perform better in damp conditions. Adjust thickness based on exertion; overheating leads to sweat and rapid cooling.
Outer Layers: Protection from Wind and Snow
A waterproof shell (Gore-Tex) shields against wind and rain. Look for pit zips and adjustable hoods to vent excess heat. Sealed seams prevent snow ingress, a common failure point in cheap jackets.
Pro tip: Stagger zippers to avoid neck irritation, and store layers in accessible pockets. For more options, check our gear guide on the best base layers.
- Wool vs. synthetic: Wool regulates temperature better, synthetics dry faster.
- Down vs. fleece: Down is warmer but loses insulation when wet.
- Shell features: Taped seams and adjustable cuffs enhance protection.
Keeping Your Extremities Warm
Cold weather targets your hands and feet first, making warmth a top priority. Blood flow naturally decreases to these areas to protect core temperature. Combat this with strategic layering and smart gear choices.
For hands, use liner gloves under insulated mittens. This pair balances dexterity and heat retention. Heated gloves help those with Raynaud’s Syndrome maintain circulation during stops.
Protect feet with merino wool socks over synthetic liners. This combination wicks moisture while trapping warmth. Avoid tight boots—restricted space reduces blood flow and increases frostbite risk.
Pre-warm boots by placing hand warmers inside them before starting. This trick keeps toes comfortable from the first step. Gaiters add extra protection against snow infiltration around ankles.
Pro tip: Place body warmers on your chest rather than pockets. Warming your core improves blood circulation to hands and feet naturally.
- Move fingers and toes frequently to maintain circulation
- Change socks immediately if feet get damp
- Carry spare glove liners for wet conditions
Must-Have Winter Hiking Accessories
Small details make a big difference when tackling frosty trails. The right gear solves problems you didn’t know existed—like snow creeping into boots or glare blinding your vision.
Gaiters shield ankles from deep powder. Outdoor Research’s models with waterproof fabric stop snow from entering your pack. Pair them with polarized sunglasses to cut glare—essential when sunlight reflects off white surfaces.
Insulated bottles keep drinks hot for hours. Wrap them in old socks for extra heat retention, a trick seasoned adventurers swear by. Trekking poles with snow baskets add stability on icy slopes.
Emergency tools deserve space in your pack too:
- Fire-starting kits with Vaseline-coated cotton for reliable ignition
- Compact bivy shelters weighing under 1lb
- Headlamps using lithium batteries for cold-weather performance
Don’t forget navigation backups. Satellite communicators like Garmin inReach fit in any case and summon help where phones fail. A neck gaiter doubles as a face mask when winds pick up.
Pro tip: Test all accessories before departure. Frozen zippers or dead batteries won’t forgive last-minute checks.
Hydration and Nutrition for Cold Weather
Fueling your adventure in freezing conditions requires smart hydration and nutrition strategies. Your body burns more calories to stay warm, and dehydration risks increase even when you don’t feel thirsty.
Preventing Frozen Water
Insulated bottles or Nalgene containers wrapped in wool socks resist freezing. Store them upside-down—ice forms at the top first, keeping the mouthpiece clear. *Make sure* to sip hourly, even if you’re not thirsty.
| Hydration Method | Pros | Cons |
|---|---|---|
| Insulated Thermos | Keeps liquids hot for hours | Heavier than plastic bottles |
| Upside-Down Bottles | Prevents mouthpiece freezing | Requires frequent monitoring |
| Hydration Bladder with Insulated Tube | Hands-free drinking | Higher freezing risk |
Calorie-Dense Snacks
Pack nuts, jerky, or energy bars—they provide all-day energy without freezing. Avoid watery fruits; they turn icy and hard to eat. Warm herbal tea in a thermos boosts internal heat during breaks.
Pro tip: Divide snacks into small portions. Frozen bars thaw faster in pockets than whole packages.
- Body warmth relies on calories—aim for 300+ per hour.
- Electrolyte tablets prevent cramping in cold air.
- *Make sure* to test gear before long trips.
Staying Dry: Avoiding Sweat and Moisture
Moisture management separates comfortable adventurers from shivering ones. Wet clothing loses insulation value 20x faster than dry gear, making fabric choice critical. Base layers like Capilene polyester wick sweat from your skin efficiently.
Cotton is the enemy—it traps moisture and accelerates heat loss. Opt for merino wool or synthetics that dry quickly. Mid-layers should breathe while insulating to prevent sweat buildup during climbs.
Smart ventilation prevents overheating:
- Open pit zips on jackets during ascents
- Remove gloves before sweating intensifies
- Adjust pace to match terrain difficulty
Pack these essentials to combat wet conditions:
| Gear | Purpose |
|---|---|
| Waterproof backpack cover | Shields gear from rain and snow |
| Kahtoola gaiters | Blocks snow entry at boots |
| Quick-dry towel | Removes excess moisture during breaks |
One hiker learned the hard way—after soaking his cotton shirt crossing a stream, his core temperature plummeted within minutes. Remember: Sweat management is safety management. Carry spare base layers in waterproof bags for emergencies.
Using Hand Warmers and Heat Packs Effectively
Strategic warmth solutions can transform freezing discomfort into trail comfort. Activate chemical warmers 20 minutes before use to ensure peak heat output when you need it most.
Placement matters more than quantity. Position warmers in your chest pack to warm circulating blood, or pair them with glove liners for direct hands warmth. Boot toes benefit from thin adhesive warmers placed over socks.
Choose between two reliable options:
- Disposable warmers: Compact and ready in minutes (ideal for emergencies)
- Reusable cases: Gel packs activated by boiling (cost-effective for regular use)
For maximum effect, integrate warmers with layered gloves. Place them between liner and insulation layers to distribute heat evenly without restricting movement.
Safety first: Never apply warmers directly to hands or skin. Use fabric barriers to prevent burns during prolonged exposure. Test new warmers at home before relying on them outdoors.
Preventing Hypothermia and Frostbite
Recognizing early warning signs could mean the difference between safety and danger in cold conditions. Hypothermia begins subtly with shivering and confusion before escalating to slurred speech and poor coordination. Frostbite targets exposed skin, causing numbness and white discoloration that demands immediate action.
Make sure to act fast when symptoms appear. Remove wet clothes first—moisture accelerates heat loss 20x faster than dry fabrics. Replace them with wool or synthetic layers that trap warm air while wicking moisture.
Your body fights cold more effectively with proper fuel. Low iron levels—common in vegan diets—increase cold sensitivity. Pack calorie-dense snacks and warm drinks to maintain core temperature.
For emergencies:
- Use shared body heat in a sheltered space
- Place warm water bottles on pulse points
- Keep moving to generate internal warmth
Those with Raynaud’s Syndrome should make sure to wear heated gloves. Frostbitten areas require gradual rewarming—never rub affected skin or use direct heat. Windproof layers are essential, as wind chill dramatically increases heat loss from your body.
Prevention beats treatment every time. Layer smartly, monitor companions for confusion, and respect your limits. Cold injuries are serious but avoidable with knowledge and preparation.
Winter Hiking Safety Tips
Safety on frozen terrain requires knowledge beyond summer hiking basics. Whiteouts can obscure trail markers, while hidden ice turns gentle slopes into hazards. Preparation separates thrilling adventures from survival situations.
Always check avalanche forecasts and share your route with someone reliable. Pack the Ten Essentials plus winter-specific items like insulated shelters. Make sure to set turnaround times regardless of summit ambitions.
Navigating Snow and Ice
Microspikes provide crucial traction on frozen trail sections. For steep ice, crampons with front points offer more security. Angle your steps sideways across slopes to prevent postholing in deep snow.
When visibility drops, rely on map-and-compass skills. GPS devices can fail in extreme cold. Make sure to mark waypoints at each visible landmark before conditions worsen.
| Traction Gear | Best For | Limitations |
|---|---|---|
| Microspikes | Packed snow/light ice | Not for steep terrain |
| Crampons | Glaciers/hard ice | Require stiff boots |
| Snowshoes | Deep powder | Bulky for storage |
Emergency Shelter and Survival Gear
Your pack should include a bivy sack or emergency blanket. These weigh under 1lb but retain 80% of body heat. Avalanche beacons become critical in exposed areas—practice using them beforehand.
Consider these lifesaving additions:
- Portable shovel for snow caves
- Chemical warmers in waterproof packaging
- Signal mirror and whistle (works when phones don’t)
During a 2021 incident on Mt. Baker, a group survived whiteout conditions by digging a snow trench. Their insulated shelter and shared body warmth prevented hypothermia until rescue arrived.
Planning Your Winter Hike
Route planning separates successful winter adventures from dangerous situations. Research your trail using tools like Gaia GPS and check avalanche reports from NWAC before departure. Make sure to verify current conditions, as snowpack can change rapidly.
Choose routes with minimal avalanche exposure for your first winter hike. WTA’s trail reports help identify safer options during snow season. Pack emergency gear like avalanche beacons for exposed areas.
Share your itinerary with two contacts, including:
- Exact trail name and parking location
- Expected return time
- Vehicle description and license plate
Prepare your vehicle for mountain roads. Install snow tires or carry chains, and pack a car emergency kit with blankets and food. Make sure your phone has offline maps since service drops in remote areas.
| Planning Step | Tools | Time Needed |
|---|---|---|
| Route Research | Gaia GPS, NWAC | 1-2 hours |
| Weather Check | onX Backcountry | 30 minutes |
| Gear Prep | Pack checklist | 1 hour |
Adjust your day hike mileage for shorter daylight. Snow travel takes 50% longer than summer hiking. Start early and plan to finish before dusk.
Monitor conditions during your winter hike and turn back if risks increase. Flexible plans prevent emergencies when weather deteriorates. Test navigation tools like compasses beforehand to ensure reliability.
Carry emergency devices like Garmin inReach for remote areas. These provide critical backup when phone service fails during winter time adventures.
Conclusion: Embrace the Cold and Adventure On
Frozen landscapes offer a silent challenge that rewards those who prepare wisely. With the right gear—moisture-wicking layers, insulated boots, and reliable hydration—you’ll conquer trails few experience.
Start small. Build skills gradually, from navigating snowy paths to reading avalanche risks. The payoff? Serene vistas and the quiet pride of mastering nature’s toughest season.
Respect the cold. Pack emergency shelters and check forecasts—conditions shift fast. Share your frosty adventures below. What’s your favorite trail when the temperature drops?


0 Comments