Blisters can turn a great hiking adventure into a painful struggle. According to experts like Rebecca Rushton, a podiatrist with 30 years of experience, shear forces—not just friction—are the main cause of blisters. Understanding this can help you take the right steps to protect your feet.
Choosing the right footwear and socks is critical. Poorly fitting shoes or sweaty socks increase friction and moisture, making your skin more prone to damage. Whether you prefer trail runners or boots, the key is ensuring they fit well and accommodate swollen feet after long miles.
This guide offers practical strategies to prevent blisters before they start. From selecting moisture-wicking socks to spotting early hotspots, these tips will keep your feet happy on the trail.
Table of Contents
Key Takeaways
- Shear forces, not just friction, cause most blisters.
- Proper footwear and moisture-wicking socks are essential.
- Early hotspot detection prevents blisters from forming.
- Keep feet dry to reduce blister risks.
- Use blister pads like Compeed for quick treatment.
Understanding What Causes Blisters on the Trail
Many hikers blame friction for painful blisters, but the real villain is shear deformation. This happens when bones move inside your foot, stretching the skin with each step. Unlike surface rubbing, shear forces create tiny tears in deeper skin layers, leading to fluid buildup.
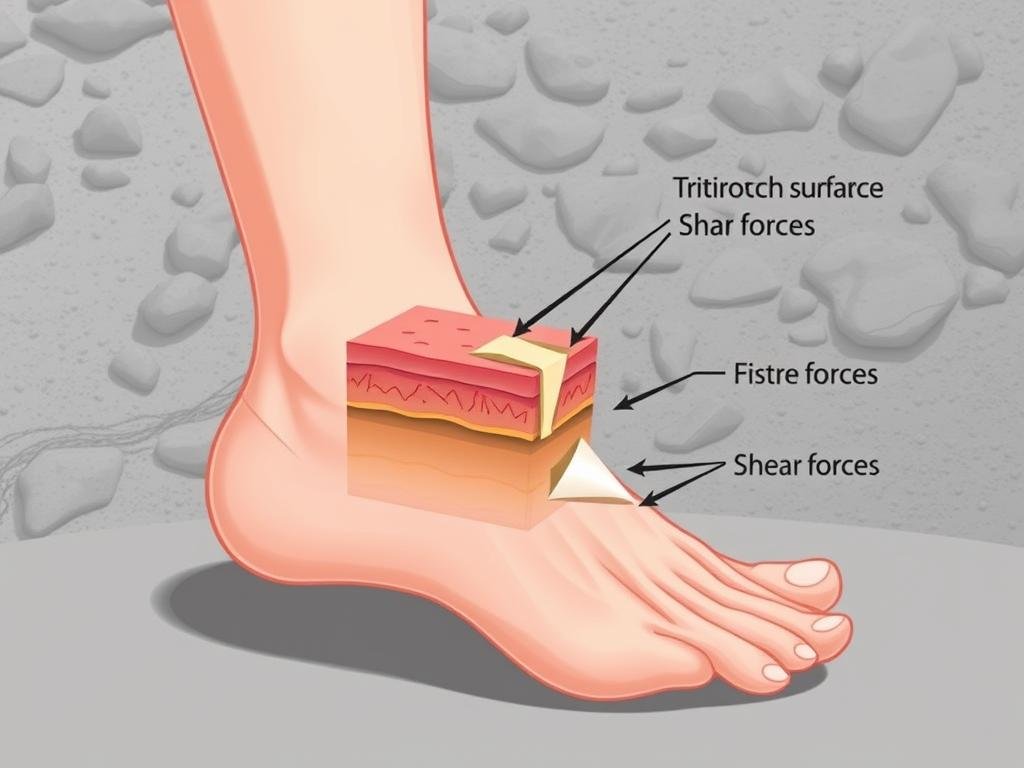
The Real Culprit: Shear vs. Friction
Friction alone doesn’t cause blisters—it’s the repetitive side-to-side motion that does the damage. Think of it like bending a paperclip back and forth until it breaks. Your skin reacts the same way under constant shear stress.
Key differences between shear and friction:
- Shear: Bones tug skin layers apart internally
- Friction: Surface rubbing creates heat but rarely blisters alone
Why Heat and Moisture Aren’t the Main Problem
Sweaty feet get blamed often, but moisture only softens skin—it doesn’t directly cause blisters. A 2013 study found 67% of blisters form by day 2 of multi-day hikes, proving shear’s role in early-stage damage.
Three myths debunked:
- Calluses don’t prevent blisters—they mark areas of chronic shear
- Heat increases discomfort but isn’t the root cause
- Moisture management helps, but ill-fitting shoes worsen shear forces
The first 3-4 days are critical. This is when your skin is most vulnerable to repetitive stress. Proper footwear reduces bone movement, tackling the real issue at its source.
Enjoy Hikes Without Blisters: Our Top Tips for Prevention
Stopping blisters isn’t just luck—it’s a science-backed strategy. The right gear and habits reduce shear forces and keep your skin intact. Focus on three areas: footwear, friction control, and early warning signs.
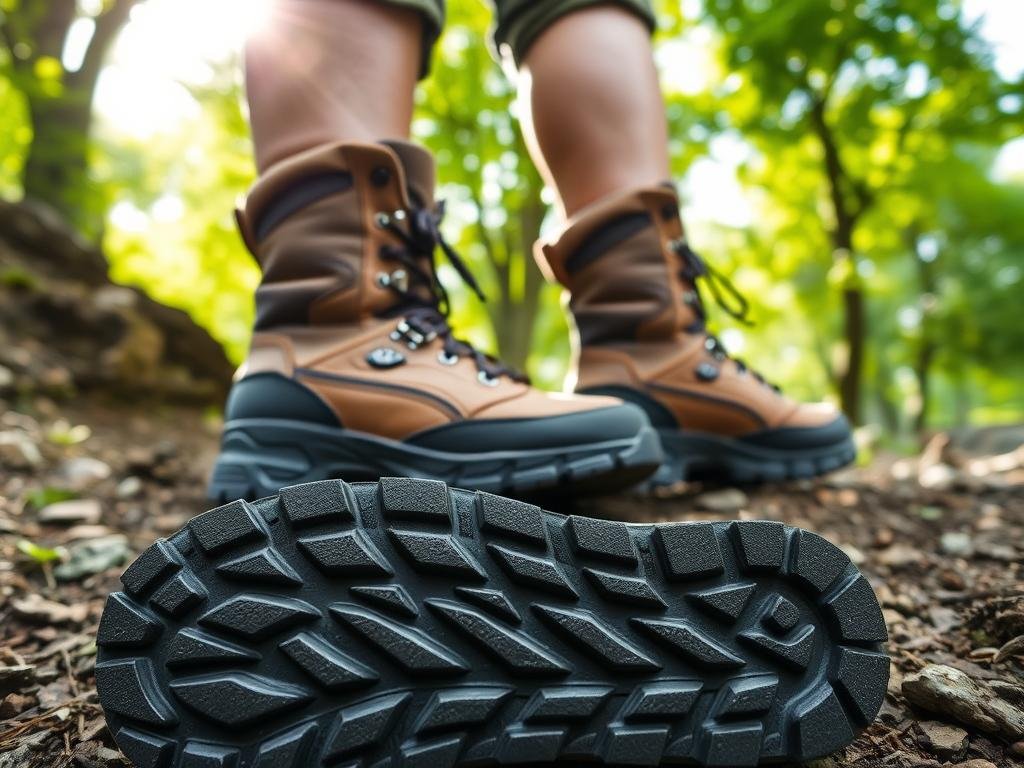
Choose the Right Footwear and Socks
Shoes should fit snugly but allow room for swelling. Opt for a half to full size larger than your street shoes, like the Hoka Challenger ATR 3. This prevents pressure points during long hikes.
Socks matter just as much. Avoid cotton—it traps moisture. Instead, try:
- Merino wool blends (e.g., Darn Tough) for moisture control
- Injinji liner socks with hidden seams to reduce friction
Use Anti-Friction Products
Reduce shear forces with these tools:
- Engo Patches: Apply to shoes’ heel or ball areas. They last for weeks.
- Gold Bond Powder: Pair with liner socks to keep feet dry.
- Gel toe protectors: Absorb shock and prevent maceration.
Spot and Stop Hotspots Early
A hotspot is your skin’s SOS signal. At the first tinge of discomfort:
- Apply Compeed pads or Hapla Band tape.
- Change socks if damp.
- Adjust laces to redistribute pressure.
Ignoring hotspots guarantees blisters. Act fast to keep hiking pain-free.
The Best Socks and Shoes for Blister-Free Hiking
The right socks and shoes can make or break your hiking experience. Poor choices lead to friction, moisture buildup, and painful blisters. Invest in gear designed to protect your foot from shear forces and hotspots.
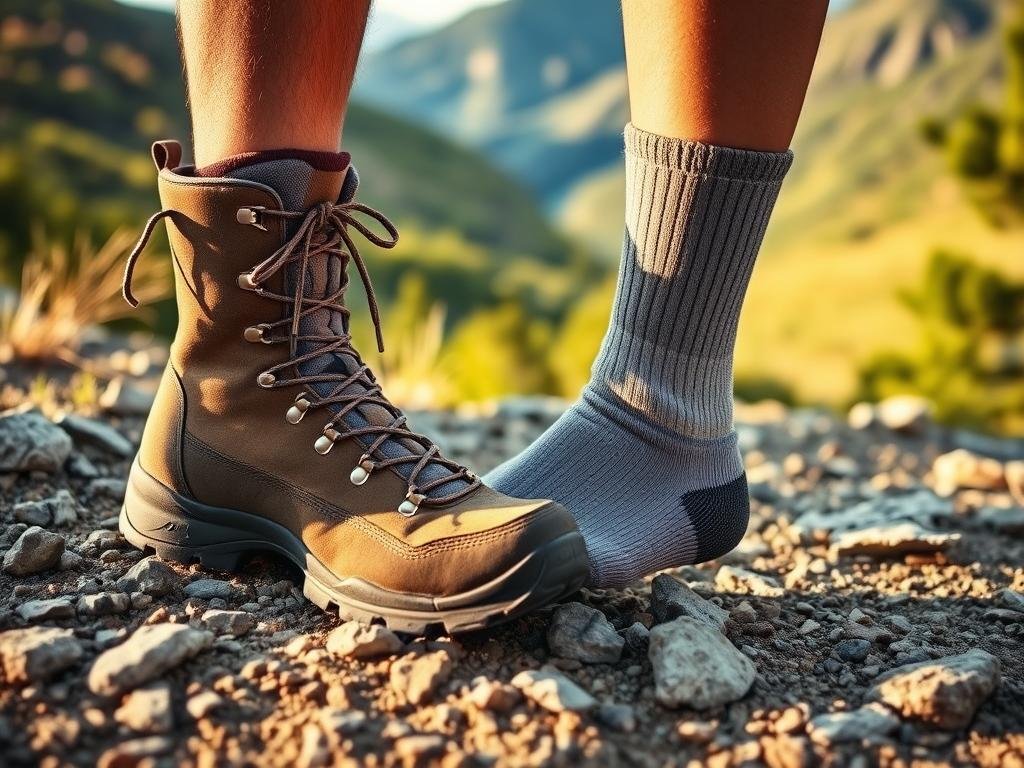
Why Merino Wool Socks Are a Game-Changer
Merino wool socks like Darn Tough’s Hiker Micro Crew regulate temperature and wick moisture 50% faster than synthetics. Their seamless construction minimizes friction, while reinforced heels extend durability.
Key advantages over synthetic blends:
- Odor resistance: Natural fibers inhibit bacteria growth.
- Temperature control: Keeps feet warm in cold weather and cool in heat.
- Lifetime guarantee: Darn Tough replaces worn pairs free of charge.
| Material | Pros | Cons |
|---|---|---|
| Merino wool | Moisture-wicking, odor-resistant | Higher cost |
| Synthetic (CoolMax) | Dries quickly, affordable | Traps odor |
| Alpaca blend (Paka) | Softer, hypoallergenic | Less durable |
How to Properly Fit Your Hiking Shoes
Your shoes should accommodate foot swelling—common after 5+ miles. Follow the *thumb’s width rule*: Leave one thumb’s space between toes and the toe box.
Ultramarathoners recommend:
- Size up by 0.5–1 full size for multi-day hikes.
- Test shoes with the pair of socks you’ll wear hiking.
- Avoid leather boots; they require long break-in periods.
For downhill stability, ensure toes can splay naturally. The Hoka One One’s wide toe box reduces pressure during descents.
Essential Blister Treatment Strategies
Effective blister care starts with understanding when to intervene and when to leave it alone. Proper treatment reduces pain and prevents infection, keeping you on the trail longer.
When to Pop (and When Not to Pop) a Blister
Pop only if the blister is larger than 1cm and causes discomfort. Sterilize a needle with flame or alcohol, then puncture near the edge to drain fluid without removing the roof.
Do not pop small blisters or those with clear fluid. The roof protects against infection.
How to Dress and Protect a Blister Mid-Hike
For dressing, layer a hydrocolloid plaster (like Compeed) with tape for multi-day adherence. Leukotape stays put better than duct tape and is gentler on skin.
Steps for open blisters:
- Clean with antiseptic wipes.
- Apply antibiotic ointment (avoid super glue—infection risk).
- Cover with a padded bandage to reduce shear forces.
Pack these supplies in your kit to handle blisters swiftly.
Must-Have Items for Your Blister First Aid Kit
A well-stocked kit is your best defense against trailside foot troubles. The right tools stop small irritations from becoming major problems. Pack these essentials to handle hotspots and blisters before they ruin your hike.
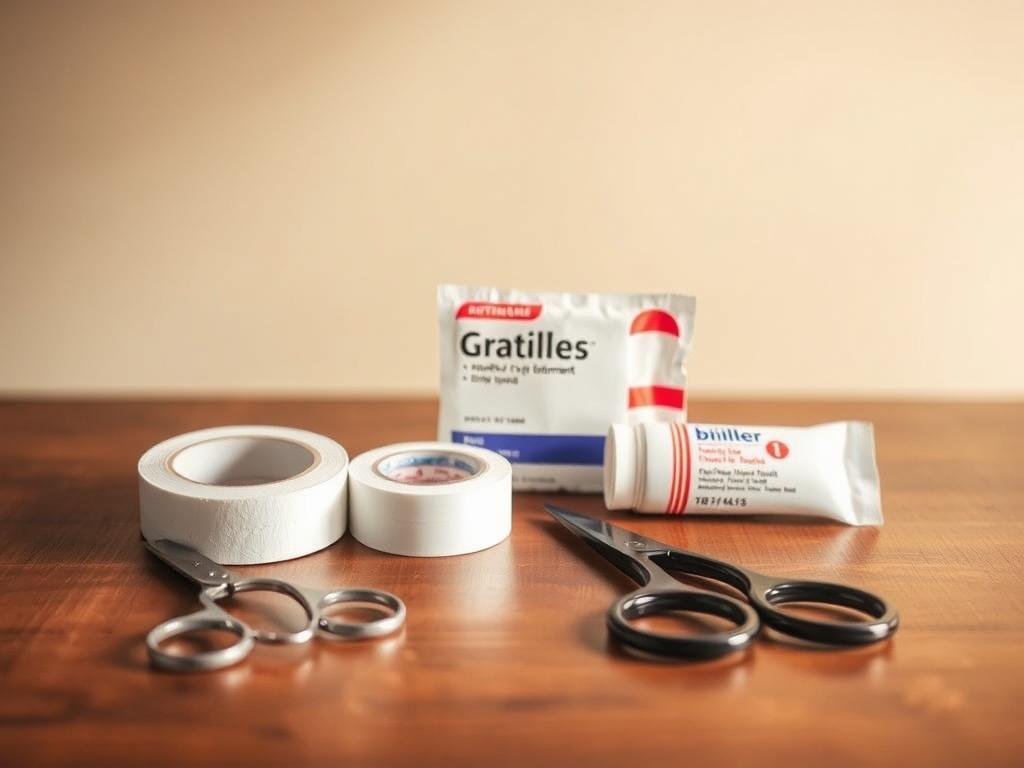
Engo Patches and Gel Toe Protectors
Engo patches are a game-changer for long-distance hikers. These ultra-thin adhesive strips reduce shear forces inside shoes, lasting over 200 miles when applied correctly. Stick them to trouble spots like heels or ball areas for lasting protection.
Gel toe caps cushion sensitive areas but have limitations with swelling. They work best for:
- Preventing friction on hammer toes
- Protecting nail beds during descents
Hydrocolloid Plasters and Fixation Tape
Hydrocolloid dressings like BlisterPod accelerate healing while staying put for days. Their sterile packaging beats drugstore brands for backcountry use. Pair them with fixation tape for secure adhesion.
Leukotape outperforms moleskin for durability. Wrap 10 feet around a lighter to save space in your kit.
| Item | Quantity (7-day hike) | Key Benefit |
|---|---|---|
| Engo Patches | 4 | Reduces shear forces |
| Hydrocolloid plasters | 6 | Promotes moist healing |
| Leukotape | 10 ft | Secures dressings |
| Alcohol wipes | 10 | Cleans debris |
Organize supplies in ziplock bags to prevent moisture damage. Include titanium tweezers for removing splinters—a common blister trigger. For more aid essentials, check the Red Cross hiking checklist.
Long-Term Foot Care for Multi-Day Hikes
Multi-day hikes demand a proactive approach to foot health to prevent painful setbacks. Unlike short trips, extended trails require strategies to manage shear forces and moisture over time. Focus on two key areas: balancing callus adaptation and maintaining rigorous hygiene.
Building Calluses vs. Preventing Blisters
Many hikers mistakenly believe thick calluses protect against blisters. In reality, pre-hike removal increases blister risk, as these areas endure excessive shear forces. Instead, follow a gradual conditioning plan:
- Increase weekly mileage by 20% to adapt skin naturally.
- Massage feet with lemon juice to strengthen skin without over-thickening.
- Apply Engo patches to high-friction areas like heels and ball joints.
The Importance of Foot Hygiene on the Trail
Nightly foot hygiene routines reduce blister rates by 50% on trails like the PCT. Sweat and salt buildup soften skin, making it prone to damage. Follow these steps:
- Wipe feet with antibacterial wipes at camp to remove debris.
- Change socks midday at water sources to control moisture.
- Use antifungal powders in tropical climates to prevent infections.
Post-hike, switch to quality sandals like Chacos to promote airflow and speed recovery. For detailed foot care routines, check this resource.
Conclusion: Happy Feet for Every Adventure
Mastering shear forces is the key to pain-free miles on any terrain. Rebecca Rushton’s Blister Bundle cuts recurrence by 81% by targeting internal skin stress. Pair this with terrain-specific strategies from Susan Perry’s webinar to adapt to rocky or wet trails.
Customize your kit based on past hotspots. Brands like Darn Tough socks and Hoka shoes offer global shipping for reliable gear. For more tips, explore these 20 essential tips.
Blisters are avoidable, not inevitable. With the right tools and knowledge, every step on the trail can be comfortable. Your next adventure awaits—pain-free.

0 Comments