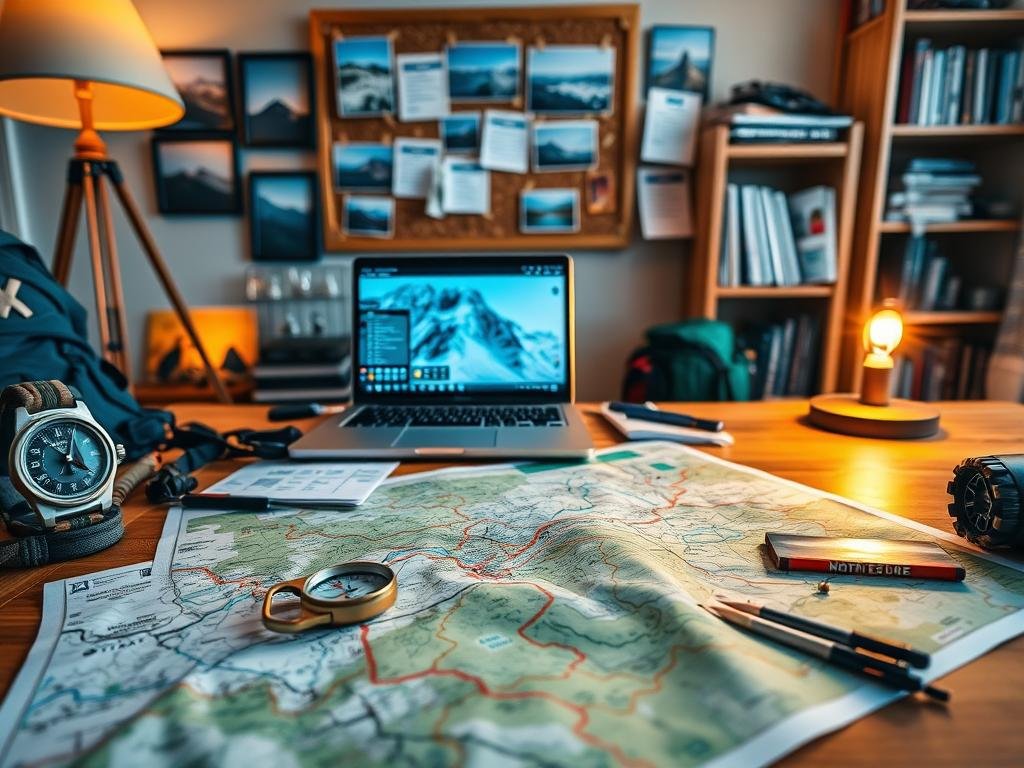
A well-organized backpacking trip ensures safety, comfort, and enjoyment on the trail. Researching permits, trail conditions, and seasonal factors is crucial before setting out. Tools like onX Backcountry help map routes and verify access points, making preparation easier.
For example, the Chelan Lakeshore Trail offers stunning views but requires ferry access and seasonal timing for the best experience. Wildflowers bloom in May, while off-season trips provide free campsites and fewer crowds.
Packing the right gear—like lightweight tents, sleeping bags, and navigation tools—is essential. Meal planning should focus on nutrient-rich, easy-to-carry options such as dehydrated meals. Safety measures, including a first aid kit and GPS device, ensure peace of mind.
Table of Contents
Key Takeaways
- Use mapping tools like onX Backcountry for accurate route planning.
- Check seasonal conditions for optimal trail experiences.
- Pack lightweight, durable gear to minimize load.
- Prioritize nutrient-rich food for energy on long hikes.
- Carry safety essentials, including navigation and first aid.
How to Plan the Perfect Multi-Day Backpacking Excursion
Smart preparation makes all the difference when heading into the wilderness. A structured approach ensures safety, efficiency, and maximum enjoyment on the trail.

The Three-Phase Approach
Every great journey starts with research. Study trail maps, elevation profiles, and weather patterns for your chosen route. Preparation involves gear selection and physical training. Execution means putting your plan into action while staying flexible.
Appalachian Trail veterans recommend at least three months of conditioning. Incorporate weighted pack hikes to build endurance. Start with short distances and gradually increase mileage.
Timeline and Packing Strategies
Weekend trips require less gear than week-long adventures. Aim for 10-15 km daily distances if you’re new to long hikes. Your pack shouldn’t exceed 20% of your body weight to prevent strain.
Documentation is crucial. Secure permits months in advance for popular trails. Ferry reservations and emergency contact lists should be finalized before departure.
Budget Considerations
Quality gear lasts longer but costs more upfront. Consider rentals for expensive items used infrequently. Always allocate extra funds for unexpected expenses like weather-related delays.
For more expert advice on trail selection and gear choices, visit our outdoor resources. Lightweight, high-calorie foods like oats and dehydrated meals help manage pack weight effectively.
Define Your Backpacking Goals and Preferences
Your ideal wilderness experience depends on aligning goals with realistic expectations. Whether you seek adrenaline-pushing climbs or serene lakeside campsites, clarity ensures a rewarding trip.

Physical Challenge vs. Scenic Relaxation
High-mileage routes test endurance, while photography-focused itineraries prioritize viewpoints. Beginners should start with manageable distances, like 8–10 miles daily, before tackling steep elevation gain.
Desert trails demand heat tolerance, whereas alpine areas require cold-weather gear. The Pacific Crest Trail showcases how seasoned hikers time sections to avoid extreme conditions.
Seasonal and Climate Considerations
Shoulder seasons (spring/fall) offer fewer crowds and reliable water sources. For example, the Chelan Lakeshore Trail blooms with wildflowers in May but risks snowmelt floods in June.
Research historical weather data to avoid hazards like flash floods. Coastal trails, such as those in Texas Hill Country, vary drastically between summer and winter.
Terrain Preference Checklist:
- Mountains: Prepare for rapid weather shifts and altitude effects.
- Forests: Navigate dense tree cover and limited sightlines.
- Coastal: Factor in tides and saltwater corrosion risks.
Choose the Right Destination for Your Skill Level
Trail difficulty varies widely—pick one that challenges without overwhelming. Beginners thrive on flat terrain like Point of Arches (8 miles, 200 ft elevation gain), while experts tackle Shining Rock Wilderness (22 miles, 2,300 ft gain). Use elevation and distance to gauge suitability.

Terrain Types: Mountains, Forests, or Coastal Trails
Mountains demand stamina for steep climbs, like Lake Blanche’s 2,700 ft ascent in 7 miles. Forests offer shade but limited visibility. Coastal areas, such as Olympic National Park, require tide awareness.
| Trail | Distance | Elevation Gain | Terrain |
|---|---|---|---|
| Golden Cathedral | 15 miles | 3,000 ft | Desert |
| Heart Lake | 23 miles | 900 ft | Mountain |
Using Online Resources and Trail Apps
onX Backcountry shows snow coverage and water sources via Recent Imagery. Look for apps with offline maps—vital in remote areas. FarOut’s crowd-sourced reports update trail conditions in real time.
- Class 1-5 Scale: Class 1 (easy) to Class 5 (technical climbing).
- ADA Options: Paved paths in national parks accommodate wheelchairs.
- NPS ratings help match trails to fitness levels.
Research Your Destination Thoroughly
Thorough research separates smooth journeys from logistical nightmares in the wild. Public lands have unique rules, and weather can turn trails from safe to hazardous overnight.

Permit Requirements and Land Regulations
Popular parks like Yosemite use lotteries, while Glacier offers walk-up permits. Always verify rules—Rocky Mountain NP mandates bear canisters in certain areas.
| Park | Permit Type | Deadline |
|---|---|---|
| Yosemite | Lottery | 6 months ahead |
| Glacier | Walk-up | Day before |
Current Trail Conditions and Weather Patterns
USGS stream gauges predict water crossings, and InciWeb tracks wildfires. Snow lingers in high elevations—Colorado 14ers route reports help plan summer hikes.
- Weather tools: National Weather Service for forecasts, CalTopo for snowmelt patterns.
- Trail apps: FarOut updates show recent trail damage or closures.
Wildlife Safety and Water Availability
Carry bear spray in grizzly country and filter water from flowing sources. BLM lands often restrict campfires—check local bulletins before departure.
Use CalTopo to mark reliable water sources, especially in desert areas. Dry stretches may require carrying extra supplies for many miles.
Set a Realistic Budget for Your Trip
Budgeting smartly keeps adventures affordable without cutting corners. Transportation costs vary—buses and trains average $20, while flights can drop to $1 per mile in off-seasons. Compare shuttle services against personal vehicle expenses for remote trailheads.

Gear decisions impact costs significantly. Renting specialty items like bear canisters saves money for occasional trips. However, frequent hikers save long-term by purchasing durable equipment.
Hidden fees add up quickly. Popular trails charge $5-$25 for backcountry permits, while iconic routes like the Appalachian Trail require months-ahead reservations. Always check land agency websites for latest fees.
Food averages $10-$15 daily with dehydrated meals. Track expenses like the couple who maintained a 100 EUR daily budget during their year-long trek. Staying outside tourist areas cuts accommodation costs nearly in half.
Seasonal fluctuations affect prices. Hostels and flights cost less during shoulder seasons, but some trails close entirely. Reserve early for peak periods when demand spikes.
Essential budget categories:
- Emergency fund: 10-15% of total trip cost
- Insurance: Rescue coverage starts at $50 annually
- Transportation: Compare ride shares vs rental cars
Negotiate directly with properties when possible, as platforms add service fees. Apps like Trail Wallet help maintain spending discipline mile after mile.
Create a Detailed Itinerary
Strategic route planning transforms a challenging hike into a rewarding experience. Break down each segment by mileage, terrain, and group fitness levels to maintain steady progress.
Daily Mileage and Elevation Gain
Use this formula to gauge difficulty: Base miles + (elevation gain/500) = score. Scores under 15 suit beginners, while 25+ demands advanced skills.
| Day | Route | Miles | Elevation Gain |
|---|---|---|---|
| 1 | Lago di Braies to Croda del Becco | 9.3 | 1,500m |
| 2 | Tre Cime di Lavaredo Loop | 7 | 750m |
Park at P3/P4 lots (€7/day) or free spots near Ponte de Ru Curto for early starts. Pack lunches from Hotel Pragser Wildsee cafes for fuel efficiency.
Campsite Selection and Water Sources
Follow Leave No Trace rules: campsites must be 100+ feet from water sources. Moon phases affect night hiking—plan full moon periods for better visibility.
- Contingency routes: Identify bail-out points every 5 miles
- Desert hiking requires 1L water per 3 miles
- Mark seasonal streams on maps using CalTopo
Sample 4-day itinerary with resupply stops ensures balanced daily segments. Always cross-reference weather forecasts with elevation profiles before finalizing plans.
Essential Backpacking Gear for Multi-Day Trips
Packing the right equipment makes or breaks your wilderness experience. Quality gear keeps you safe, comfortable, and prepared for changing trail conditions. Focus on durability and weight to balance performance with packability.
The Big Three: Backpack, Shelter, and Sleep System
Your backpack, tent, and sleeping setup form the foundation. The Osprey Aura AG 50L offers adjustable suspension for heavy loads, while ultralight options like Hyperlite Mountain Gear Northrim 70L cut weight.
For shelters, the Zpacks Duplex Tent weighs just 1 pound yet withstands harsh weather. Pair it with a temperature-rated sleep system—the Mountain Hardwear Phantom 15-degree bag suits most three-season trips.
| Gear Type | Traditional Weight | Ultralight Option |
|---|---|---|
| Backpack | 4-5 lbs | 1.5-2 lbs |
| Tent | 3-4 lbs | 1-1.5 lbs |
| Sleep System | 5-6 lbs | 2-3 lbs |
Clothing Layers and Footwear
Merino wool base layers regulate temperature, while waterproof shells block wind and rain. Trail runners dry faster than boots—Danner Light models provide ankle support without excess weight.
Follow this layering system:
- Base: Moisture-wicking tank tops or wool shirts
- Mid: Fleece or down insulation
- Outer: Waterproof jacket and pants
Navigation Tools and Emergency Supplies
Always carry a GPS device like Garmin inReach for remote areas. The Ten Essentials checklist now includes battery packs and satellite messengers alongside traditional maps and compasses.
BearVault canisters fit neatly in your pack’s center for balance. Combine with a compact first aid kit and water purifier for complete safety coverage.
Emergency gear comparison:
- Communication: Garmin inReach (two-way messaging) vs SPOT (SOS only)
- Water Treatment: Pump filters vs chemical tablets
- Lighting: Headlamps with 150+ lumens
Plan and Pack Your Meals Efficiently
Smart meal planning keeps energy levels high while minimizing pack weight. Balancing nutrition, caloric density, and convenience ensures you stay fueled throughout your journey.
Caloric Needs and Lightweight Food Options
Hikers burn 3,000-5,000 calories daily, requiring high-energy foods. Nuts provide 160-200 calories per ounce, while freeze-dried meals offer 120-150 calories per ounce with minimal prep.
Repackage store-bought items into smaller containers to save space. Hard plastic screw-top lids protect against rodents in backcountry areas.
| Food Type | Calories/Ounce | Prep Time |
|---|---|---|
| Almonds | 170 | None |
| Freeze-Dried Chili | 130 | 10 minutes |
| Peanut Butter | 180 | None |
Resupply Strategies for Longer Trips
Most hikers resupply every 4 days, adjusting based on terrain difficulty. Mail drops to remote post offices often cost less than buying supplies in tourist towns.
Use Excel to calculate exact portions, accounting for increased appetite at higher elevations. Heavier items like cheese should be consumed early to reduce pack weight.
Water treatment options:
- Katadyn BeFree: Filters 2L per minute with minimal weight
- Chemical tablets: Lightweight backup option
- UV pens: Effective but battery-dependent
Research water sources along your route using apps like Guthook. Desert sections may require carrying several liters for many miles between reliable sources.
Bear canisters are mandatory in some areas, while proper hangs work elsewhere. Always check local regulations before choosing storage methods.
Train and Test Your Gear Before You Go
Proper preparation ensures your gear performs when it matters most. Testing equipment and conditioning your body reduces surprises on the trail.
Physical Conditioning and Shakedown Hikes
Start with a 6-week training plan. Gradually increase mileage and pack weight to build endurance. Use stairs or hilly terrain to simulate elevation gain.
Try these exercises:
- Toe curls: Strengthen foot muscles to prevent injuries
- Heel raises: Improve calf endurance for steep climbs
- Weighted pack hikes: Begin with 10% body weight, increase weekly
Plan shakedown hikes in challenging terrain. Evaluate gear performance in rain or mud to identify weaknesses.
Mock Packing and Weight Distribution
Use a bathroom scale to check pack weight. Never exceed 25-30% of your body weight.
| Gear Category | Weight Range | Packing Tip |
|---|---|---|
| Sleep System | 2-5 lbs | Pack at bottom |
| Food | 1.5-2 lbs/day | Distribute evenly |
| Water | 2-4 lbs/L | Place near back |
Test weight distribution with short walks. Adjust straps until the load feels balanced. Heavy items should sit close to your spine for better stability.
Practice hydration and nutrition during training hikes. This helps determine your personal needs before the actual trip.
Final Preparations and Safety Checks
Final checks transform good trips into great adventures. Verify gear functionality and review contingency plans to handle unexpected challenges.
Downloading Offline Maps and Sharing Your Itinerary
Always download maps on Gaia GPS or FarOut for areas with no signal. Share your detailed itinerary with emergency contacts, including campsites and return dates.
Emergency Protocol Template:
- Primary contact name/number
- Park ranger station details
- Planned check-in times
Leave No Trace Principles
Follow LNT guidelines to protect ecosystems. Test *permethrin-treated* gear to avoid chemical spills.
| Principle | Action |
|---|---|
| Dispose of Waste Properly | Pack out trash and use WAG bags |
| Minimize Campfire Impact | Use a stove; collect deadwood only if permitted |
Check weather.gov for hyper-local forecasts. Adjust gear for rain or extreme heat. Secure trailhead parking by hiding valuables and locking doors.
Conclusion
Mastering the backpacking trip process takes time and practice. Start small with local trails before tackling remote routes. This builds confidence and sharpens skills.
Balance preparation with flexibility. Overplanning stifles spontaneity, but underpreparing risks safety. Use REI workshops to refine gear knowledge and connect with fellow hikers.
Document each journey in a trail journal. Note what worked and areas for improvement. Gradual progression ensures enjoyable adventures without burnout.
Local hiking clubs offer mentorship and route suggestions. They provide valuable insights for your next trip. Always preserve a margin of error—weather and trail conditions change fast.


0 Comments